-
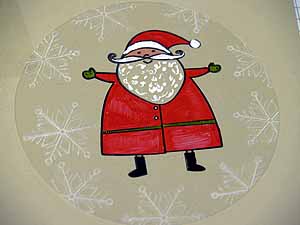
Step 1
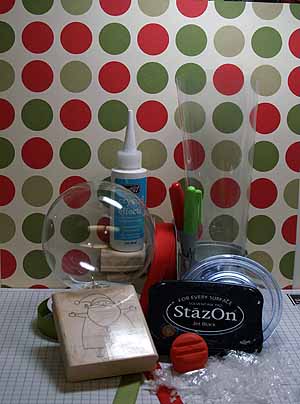
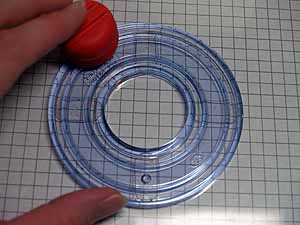
Use circle cutting system to cut a 4 1/2" circle out of acetate.
-
Step 2
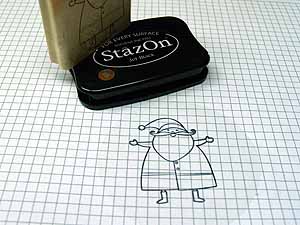
Stamp the main image onto the acetate with Stazon.
-
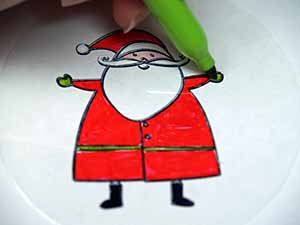
Step 3
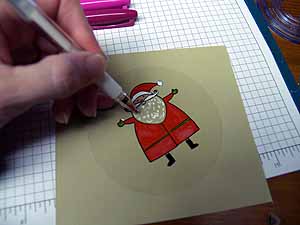
Color the image with Sharpie markers.
-
Step 4
Fill in white areas with either the white gel pen or white acrylic paint.
-
Step 5
Stamp snowflakes around the main image with White Stazon.
Set image aside to dry.
-
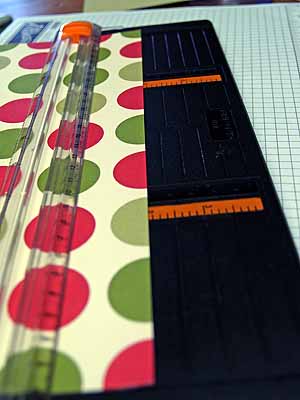
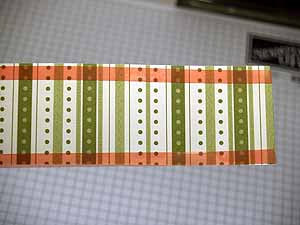
Step 6
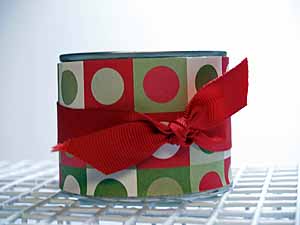
Cut a strip of patterned paper to fit the width and circumference of the emptied, cleaned can. This will be the snow globe's base.
Here, a 2â€x 9†strip was used.
-
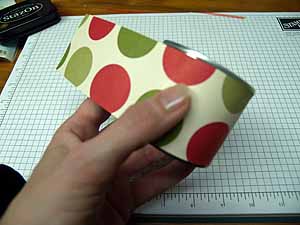
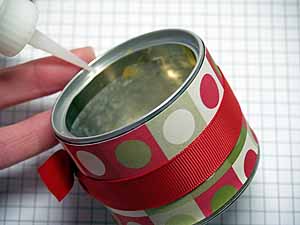
Step 7
Adhere Sticky Strip to the back side of the patterned paper.
-
Step 8
Peel backing from adhesive strip and carefully wrap paper around the circumference of the can.
-
Step 9
Tie a ribbon around the mid-section of the can and set aside for assembly.
-
Step 10
Going back to your acetate image, add additional color to the reverse side of the image. This will deepen the colors.
Make sure that you are applying the color to the reverse side as adding color to the main side will likely result in lifting the color from the image.
Additional white is not necessary as it tends to be quite opaque and covers well with one layer.
Set image aside to dry.
-
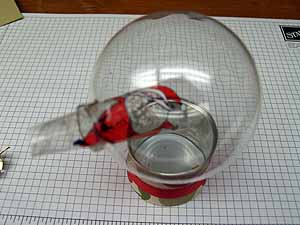
Step 11
When image is fully dry, roll the acetate and insert it into the ball (ornament).
-
Step 12
Using craft tweezers, carefully manipulate the image until the acetate fills the ball and lines up with the middle of the neck.
Make sure that the top of the image is at the bottom of the ball. The bottom of the image (Santa’s feet) will suspend just over the stopper hole.
-
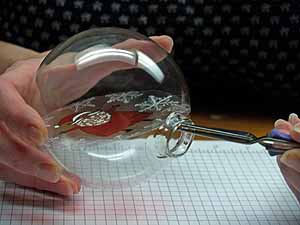
Step 13
Add artificial snow to both sides of the image by pouring or spooning it in.
-
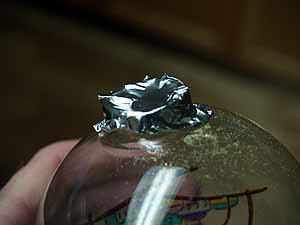
Step 14
Cut a square of foil, double the layer, and place it over the stopper hole.
-
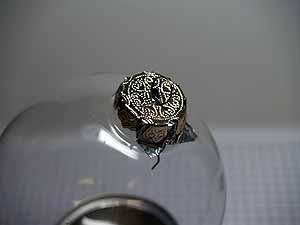
Step 15
Carefully replace the ornament cap.
Add some tape to the outside of the stopper to block the small hole and to reinforce the project.
-
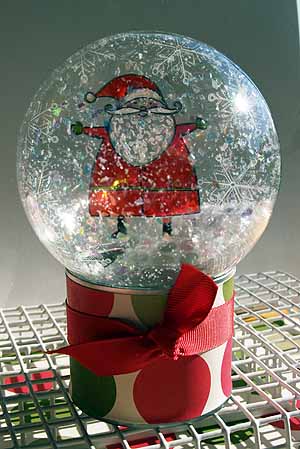
Step 16
Liberally apply Crystal Effects to the upper lip of the can.
-
Step 17
Invert the ornament stopper down onto the can and set aside to dry.


No hay comentarios:
Publicar un comentario